Setup and First Implementation
STEP 1
root (https://example.com)
  |
  |-- postease
  |
  |-- index.html
  |-- about.html
  |-- ..
STEP 2
上記例の場合、https://example.com/postease でアクセスできます。
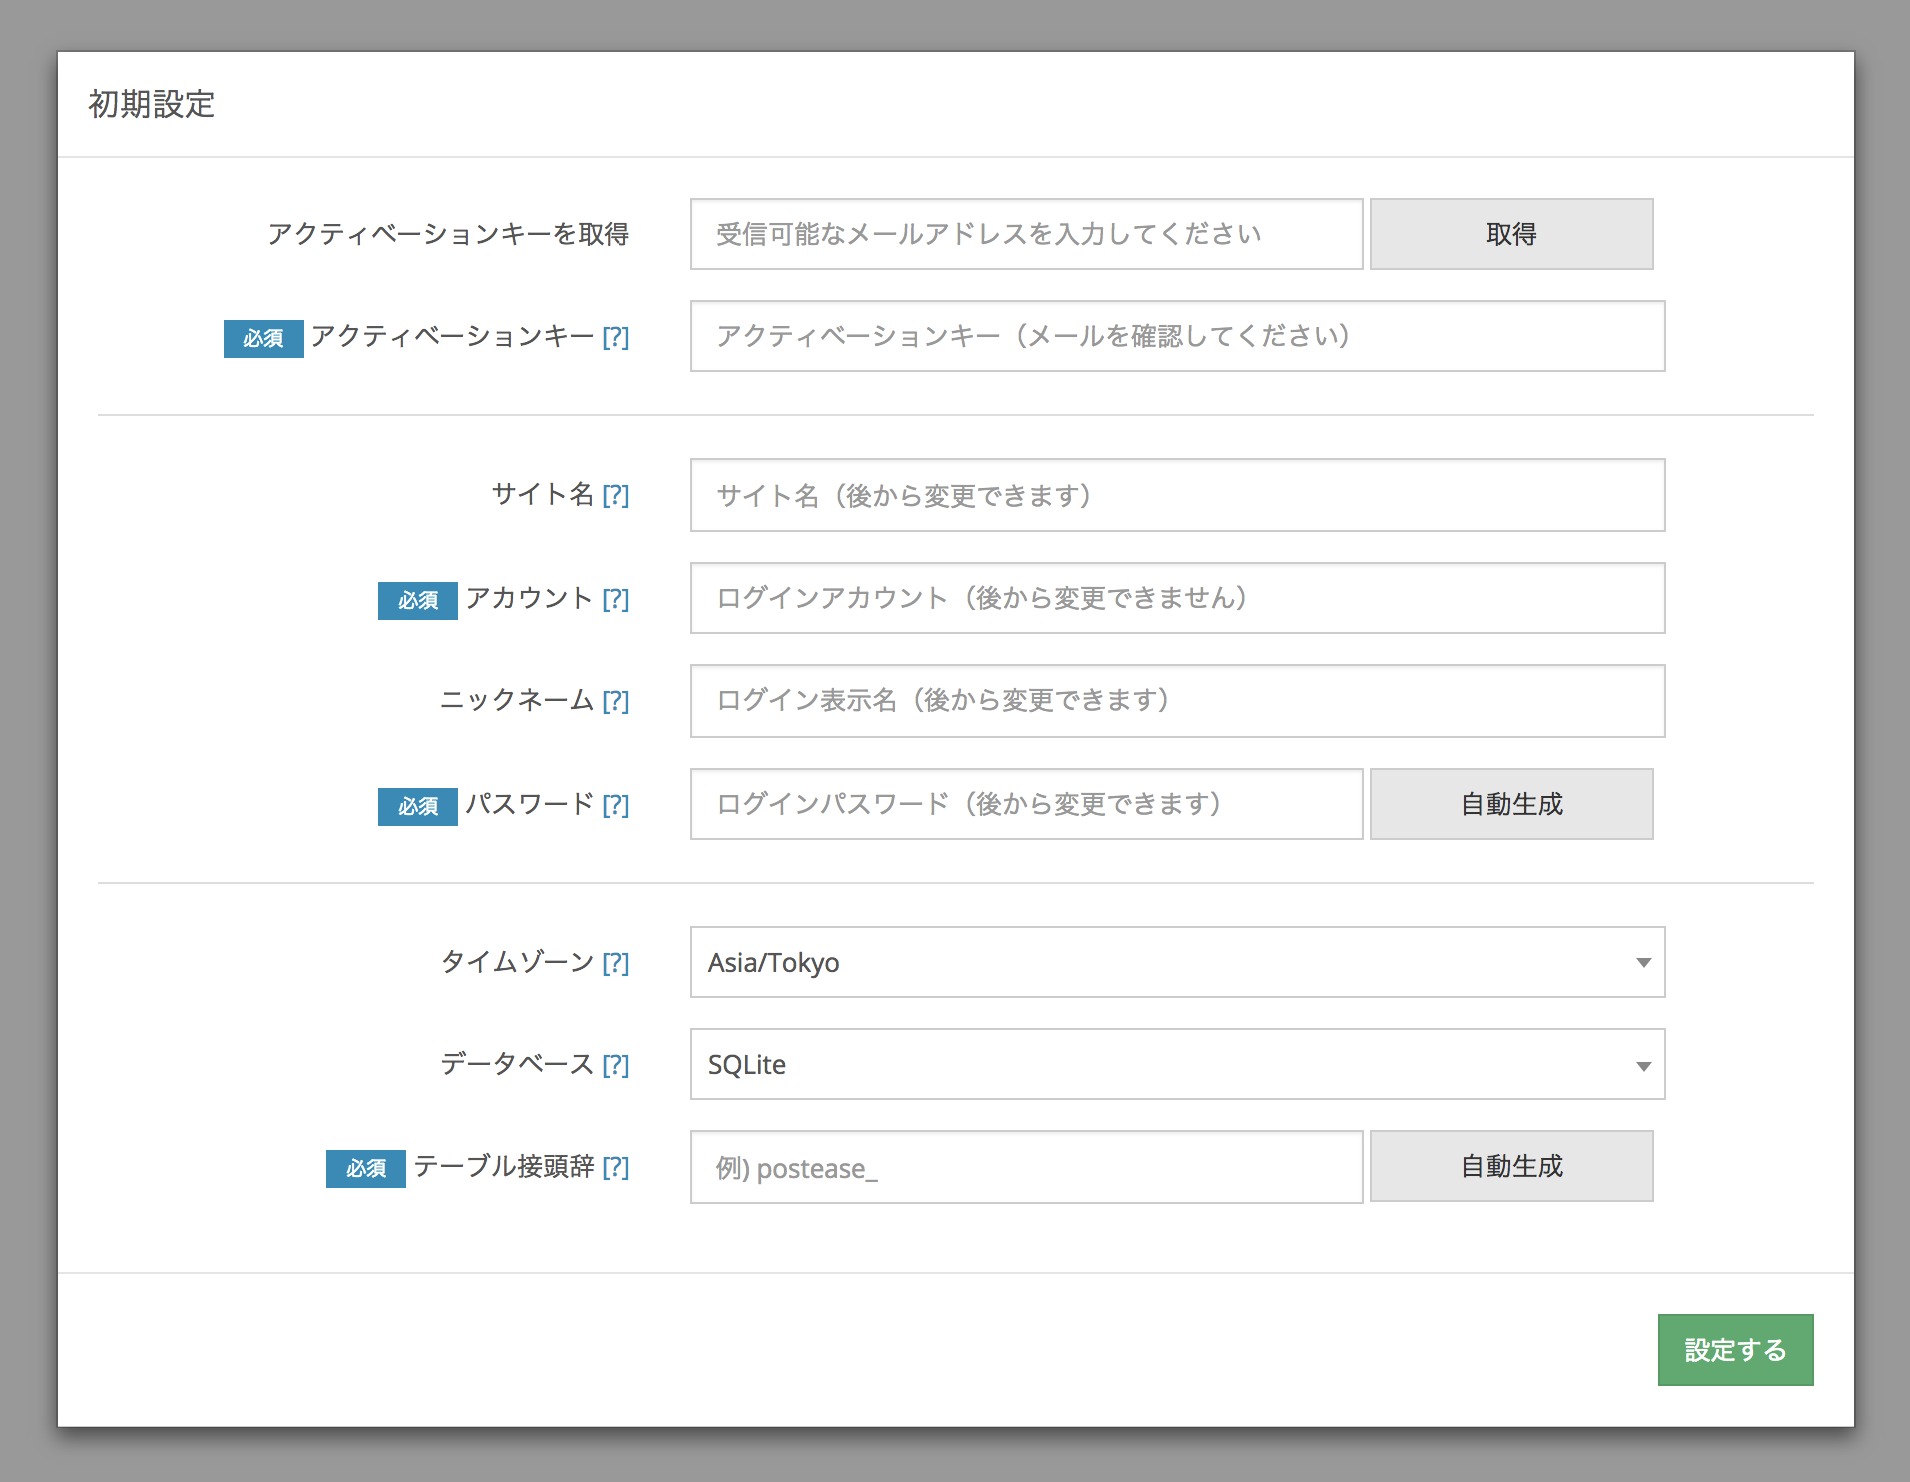
必要項目の入力がおわったら、右下の「設定する」ボタンを押して初期設定を完了します。

NEXT STEP
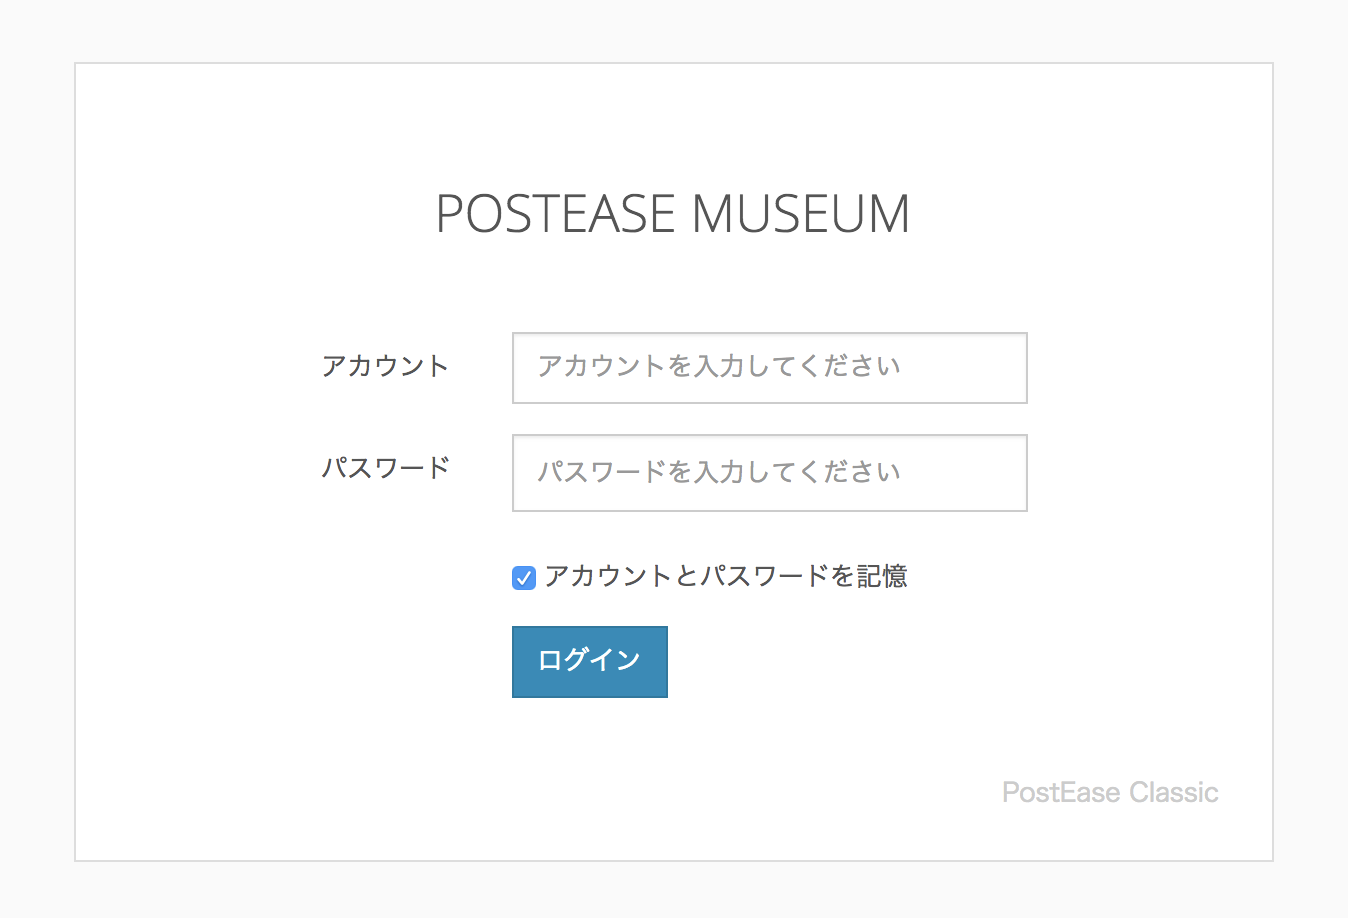
STEP2で登録したアカウントとパスワードを入力してログインします。使い始めましょう。

はじめての実装 1
POSTEASE API を利用してWEBサイトと POSTEASE を接続します。
接続したら投稿データの一覧を取得して内容を確認します。
STEP 1
サーバ内のディレクトリ構造がこのようになっているとします。
index.php を POSTEASE に接続する手順を見ていきます。
root (https://example.com)
|
|-- postease
|
|-- index.php
|-- about.php
|-- ..
STEP 2
APIに接続するコードを書きます。接続はこれで完了です。
require_once dirname(__FILE__) . '/postease/api/local.php';
STEP 3
投稿データ一覧を取得するコードを書きます。1行で完了です。
require_once dirname(__FILE__) . '/postease/api/local.php';

$posts = get_posts();

// データ内容を確認する
print '<pre>';
print_r($posts);
print '</pre>';
はじめての実装 2
条件つきで投稿データを取得してくりかえし構文でHTMLを動的化します。
STEP 1
最新のニュースを3件表示するHTMLを用意します。
<html>
...
<div class="news-wrapper">

  <div class="news">
    <img src="img/news/01.png" alt="*">
    <h3>ニュース1のタイトル</h3>
    <p>ニュース1の本文の最初の20文字だけ表示..<p>
  </div>

  <div class="news">
    <img src="img/news/02.png" alt="*">
    <h3>ニュース2のタイトル</h3>
    <p>ニュース2の本文の最初の20文字だけ表示..<p>
  </div>

  <div class="news">
    <img src="img/news/03.png" alt="*">
    <h3>ニュース3のタイトル</h3>
    <p>ニュース3の本文の最初の20文字だけ表示..<p>
  </div>

</div>
...
</html>
STEP 2
STEP1 で用意した静的なHTMLを動的化します。
APIから取得した投稿データを foreach くりかえし構文で書き出します。おおまかな手順は4つです。
以上でニュース一覧の動的化は完了です。
このように POSTEASE は動的にしたい部分だけを自由に選んで実装できます。
<?php
// 1.POSTEASE API に接続
require_once dirname(__FILE__) . '/postease/api/local.php';

// 2.取得条件を指定
$config = [
'orderby' => 'DESC', // 新しい順で
'limit'   => 3, // 3件のみ
'content_length' => 20, // 本文は20文字だけ
];

// 3.取得条件つきでデータを取得
$posts = get_posts($config);

// 4.以下HTMLを動的にレンダリング ↓
?>

<html>
...
<div class="news-wrapper">

  <?php foreach ($posts['list'] as $row) ?>

  <div class="news">
    <img src="<?=$row['eyecatch']?>" alt="*">
    <h3><?=$row['title']?></h3>
    <p><?=$row['content']?>..<p>
  </div>

  <?php endforeach ?>

</div>
...
</html>